Background
This project focused on developing a social media content plan for Jitters Café, a local favorite known for its small, cozy space and quality coffee. The assignment required creating 2 Facebook posts, 2 stories, and 2 reels to enhance the café’s social media presence and attract nearby high school students. Since the campaign takes place during the summer, while school is out of session, the content highlights refreshing seasonal drinks and light bites that appeal to students and families enjoying their break, positioning Jitters as a go-to spot for a quick, energizing stop before summer activities.
About the Client
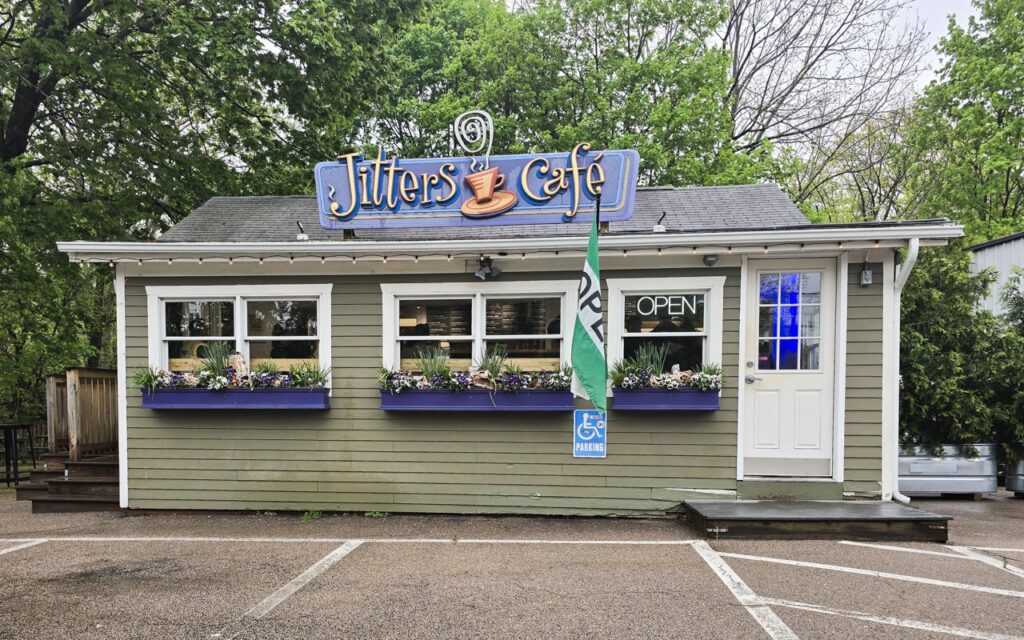
Jitters Café is a family-owned coffee shop founded by Rhode Island locals Ray and Sue Osbrey in 1997. What began as a neighborhood spot for good coffee has grown into a beloved eatery offering breakfast, lunch, and baked goods. Competing in the Rhode Island café scene, Jitters stands out for its community-first approach and loyal multigenerational following. With a second location added in 2022 and recognition in Rhode Island Monthly’s Best of RI Readers Poll, the café continues to balance its cozy, familiar charm with an evolving menu that appeals to both long-time patrons and new visitors alike.
Their Challenge
After speaking with co-owner Ray Osbrey, it became clear that the challenge was not about reinventing Jitters, but rather about growing its overall reach. He wanted to appeal to younger audiences, like the local high school crowd, without alienating the loyal customers who have made Jitters a community favorite for decades. While its multigenerational following remains central to the brand, the café’s social media presence, particularly on Facebook and Instagram, offers a valuable way to reach new audiences and stay connected with the community.
Our Solution
With the café’s summer goals in mind, we developed a small campaign of social content to highlight Jitters Café’s seasonal offerings and ease the challenges of managing social media as a small business. Over the course of two weeks, our team produced two Facebook posts, two stories, and two reels, capturing original photography and video on site and doing post-production using Canva, Lightroom, and Premiere.
To address the challenge of appealing to the local high school while staying true to Jitters’ loyal customer base, we began by analyzing the café’s existing social media presence. This helped us understand what resonated most with their current audience and ensured any new content aligned with their established brand personality. We found that their posts often featured bright, lifestyle-oriented photography with little to no text. We concluded that an approachable, down-to-earth style that we aimed to carry forward into the new campaign.
Facebook Posts
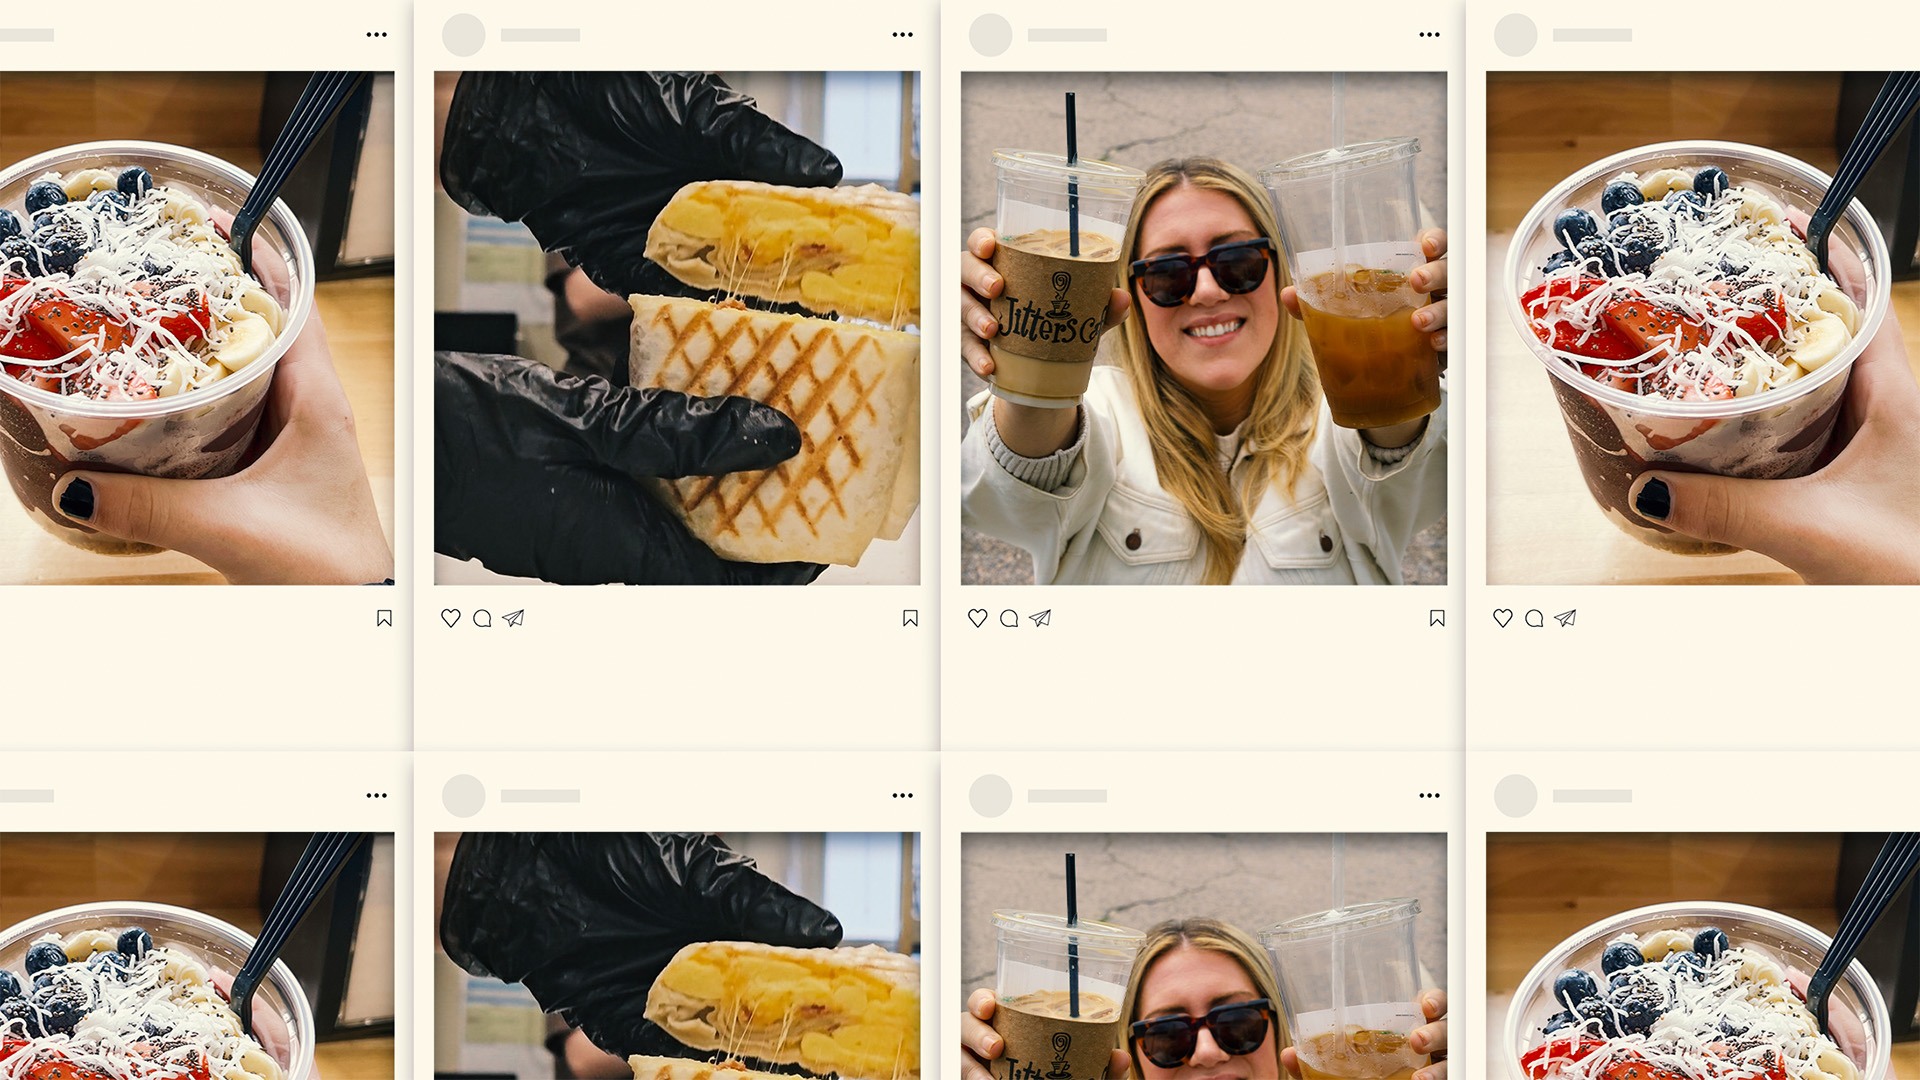
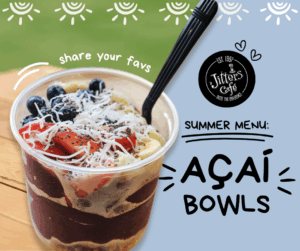
The Açaí Bowl Facebook post highlights a refreshing summer menu item, most popular among young children, teenagers, college students, and millennials. The post itself includes branded visuals such as the Jitters logo, while the caption prompts viewers to comment with their favorite bowl toppings. This not only builds awareness for the seasonal offering, but it also opens the door for casual community-driven conversation around their menu.
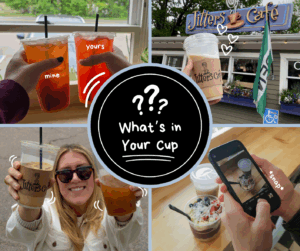
On the other hand, the “What’s in Your Cup?” Facebook post, is geared more towards creating user-generated content. Posting on social media can easily fall to the bottom of the list when a small team is busy running a café, but inviting customers to share their drinks (and tag the café) is a simple way to help lighten that load. This approach not only builds engagement but also gives Jitters a stream of real, authentic content to potentially reshare. These images can also be repurposed across platforms or used to fill in gaps during slower production weeks.
Instagram Stories
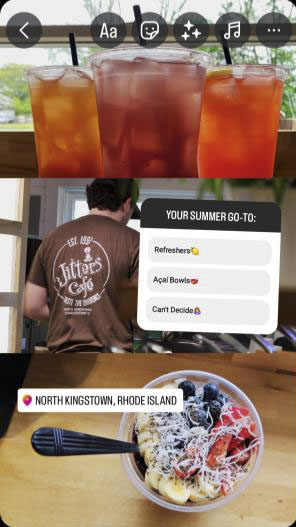
Stories are meant to be quick, and users often swipe through them without much pause, so our goal was to combine simple yet engaging visuals with bids for user engagement. One story includes a poll asking followers to choose between two popular summer items: açaí bowls and refreshers. Beyond quick votes and engagement, the poll also offers Jitters insight into customer preferences, which could help guide future product promotion. There is also a location tag on the story so viewers know exactly where to get these delicious options.
The second story features a brief clip of an espresso machine with a heart-eye emoji slider. This is a nod to Jitters’ core coffee-drinking audience and grants viewers the opportunity to engage using the heart-eyes slider. Ultimately, we wanted these designs to be polished yet easy to replicate or update as needed.
Instagram Reels
We also created two Instagram Reels to showcase both the customer experience and the behind-the-scenes side of the café. The “Café Vibes” Reel appeal to the viewer’s emotions by capturing the feeling of visiting your favorite coffee shop. It was curated to evoke either nostalgia or FOMO, encouraging viewers to come visit. We made a point to showcase the outdoor seating area, since indoor space is limited, and summer weather makes the patio more appealing.
The second Reel focuses on the lunch menu and serves as a launch point for a possible content series, perfect for content planning. Showcasing various menu items will bring awareness to Jitters as more than a coffee shop. Jitters can also adapt this format to highlight other menu items for future reels on wraps, smoothies, sandwiches, or specialty drinks. Both reels also feature music from Instagram’s list of the 50 trending audios at the time of creation. This allows the reel to be boosted through Instagram’s algorithm and improve its overall reach.
Final Reflections
Collaborating directly with the owner offered valuable insight into how small businesses balance creativity with limited time and resources. By establishing a few go-to camera angles and keeping things short and simple, the café can efficiently capture content without affecting their daily routine. Overall, this experience demonstrated how social media solutions work best when they are both visually engaging and sustainable for businesses.
