
Introduction
Form is a powerful photography technique used to capture depth in 2D media. Mastery of light, shadow, texture, and tone can enhance the 3D quality of a photograph, resulting in images that appear almost tactile. Ultimately, these elements are crucial to producing successful black and white photography. By stripping color distractions from an image, the tonal range is completely exposed, which can make or break the final result. The key to achieving form in black and white photography is to introduce the viewer to the fullest tonal range, meaning the purest of whites, deepest of blacks, and a complete scale of grays in between.
Our Process
The first step is to decide on a subject. To someone just starting out, we suggest keeping it simple with a white subject against a black background. Limiting color minimizes distractions and reveals the necessary tonal values to accomplish depth in the final shot. Now that we have our subject, it is time to consider lighting.
First, decide if you want to use studio or natural lighting. While studio lights can be easier to manipulate in order to achieve the desired effect, there are also ways to play with natural light sources. Either way, it is important to avoid harsh lighting during shooting (this will be nearly impossible to edit later). Subtle tonal gradation from soft lighting showcases the light and shadow necessary to breathe life into the image.
How to Make an Origami Swan:
For the subject, we decided on an origami swan out of white paper. Below is the exact YouTube tutorial from Origami Kiyoshi:
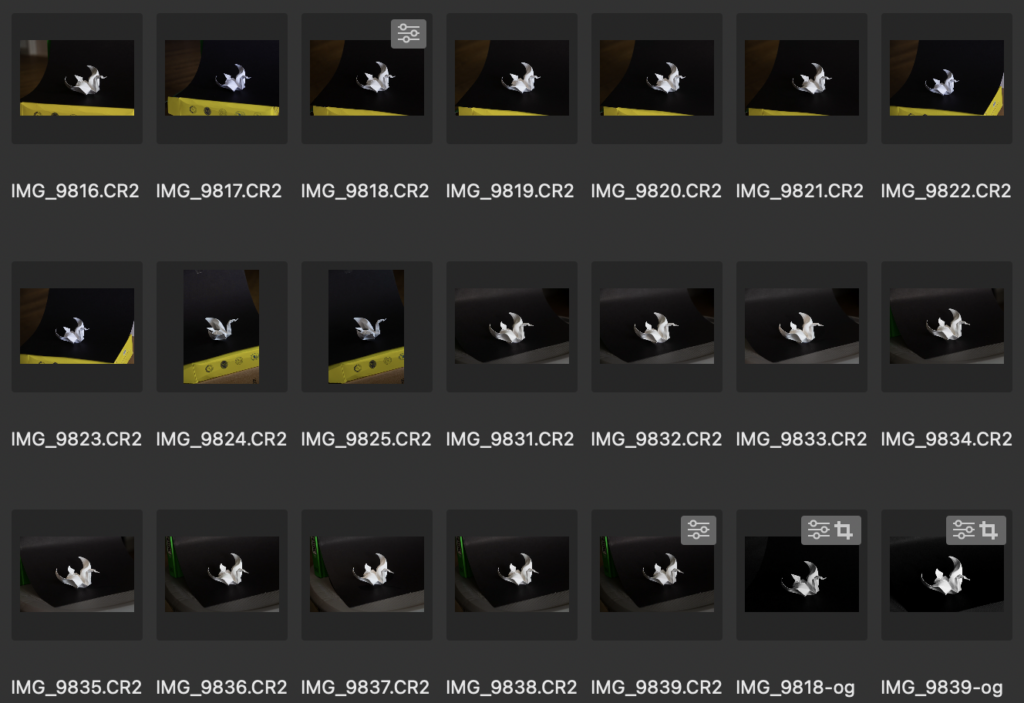
Here, we have a series of images taken as part of our shoot. For this particular photograph, we did not have access to the studio, so we decided to leverage indirect natural lighting. At first the lighting was too harsh, so to soften the light casted onto the subject, we used a white piece of paper as a bounce card.
Note how all the photos were taken from an angle. This is completely intentional. When capturing form, it is important to capture multiple angles of your subject in one image. This way, the subject shows up as three-dimensional and the image takes on the quality of depth. Otherwise, the resulting photograph may fall flat. Be sure to explore your subject, experiment with different angles, and take a lot of photos.
The Result
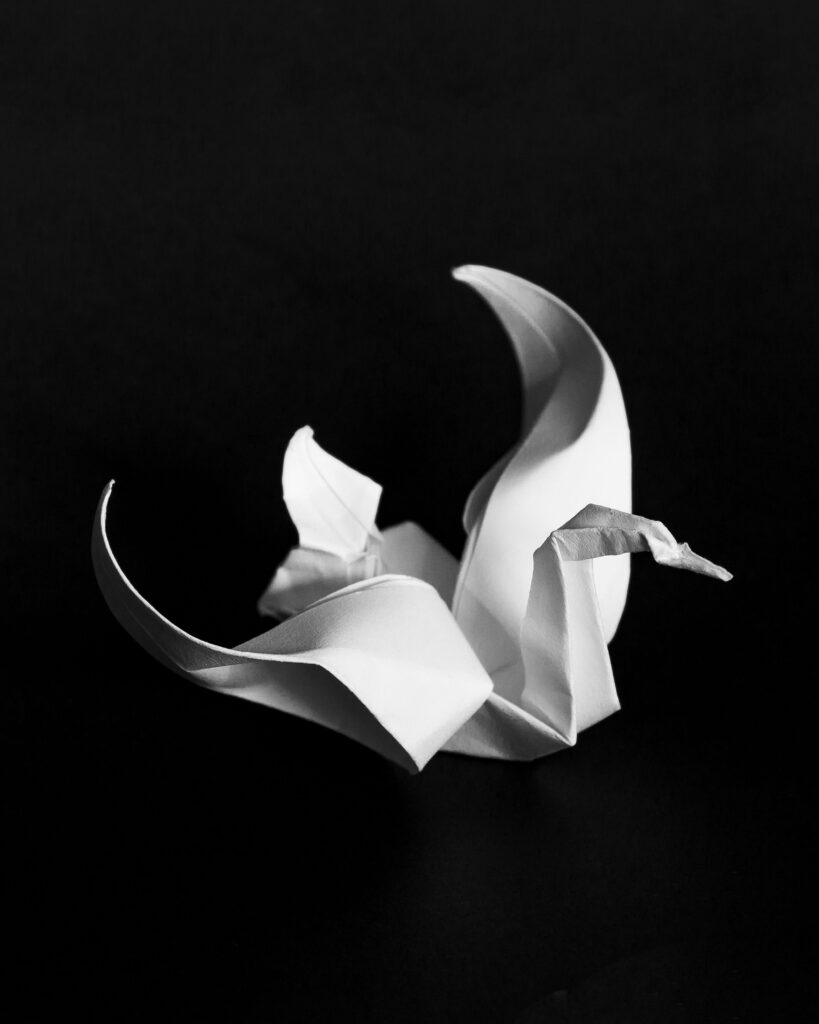
The final photograph utilizes composition, tonal gradation, and a shallow depth of field to create dimension. Combined, all these techniques create depth, which is essential to capturing form. Of course, editing took place during post-production to develop bright whites, deep shadows, rich blacks, and endless shades of grey in between.
The subject practically pops off of the background. It appears as though the viewer could reach into the photo, achieving that tactile quality. Another characteristic we want to draw attention to is the exaggerated scale of the subject. The subject itself is minuscule in size; however, the final photo grants this rather small object and grand, majestic sense of proportion.

Final Conclusions
Exploring form in black and white photography required specific focus on tone above all else. Using Adobe Lightroom to fine-tune exposure and shadow details, we were able to allow the subject’s structure to take center stage. This project deepened my awareness of how small changes in light, tone, and perspective can dramatically impact photography.
While form may seem abstract and difficult to grasp at first, it is ultimately what gives an image depth and visual impact. Through proficiency of light, shadow, and texture, photographers can bring a sense of life to otherwise ordinary subjects. With continued practice, these principles can become intuitive, guiding creative decisions long after the lesson ends. Mastering form takes patience, but it is also where imagination thrives.