
Background
This project focused on creating a title sequence for a how-to YouTube tutorial that gets viewers excited for the following video. This case study explores the process behind the development of the stop motion title sequence, using key techniques such as keyframing, time remapping, layer masking, and track-matting.
Design Challenge
The primary challenge was to produce title sequence for a YouTube tutorial while adhering to several technical and creative requirements. Key aspects of the challenge included:
Title Sequence Objectives
- Video Length: A duration between :30 seconds.
- Title: Intentional type treatment and animation for how-to video title.
- Credits: A minimum of three individual credits.
- Skills: Demonstrate mastery of Adobe After Effects.
- Visual Aesthetics: Must effectively complement the attached how-to tutorial.
- Music: Appropriate music that complements the visuals.
- HD 1080 Preset: Build the project to the HD 1080 standard to ensure high-quality video resolution.
Our Solution
After two scrapped storyboards of including animated assets, stop motion was the idea settled on. This was the perfect fit for the animated sequence, considering that it was going to precede a how to tutorial about how to make a bouquet of flowers, complement the visuals.
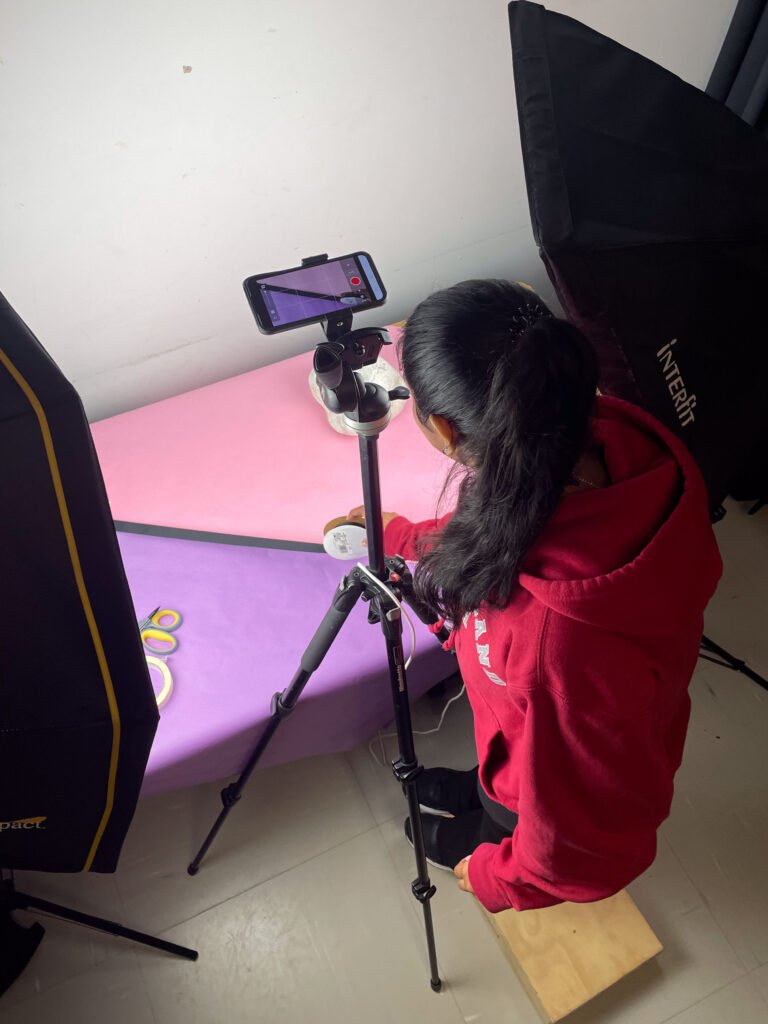
Shooting
Stop motion was shot over the course of multiple days. A huge challenge during this part of the process was achieving consistent lighting over the course of multiple days, having to break down the set up between days. All images were shot using the Stop Motion Studio mobile application, which comes with an onion skin feature that really helped make the stop motion come to life.
Day 1

Started with the end of the stop motion sequence since the flowers were a living subject from the YouTube tutorial itself, it was important to shoot before they frayed from the lights or wilted from the lack of water.
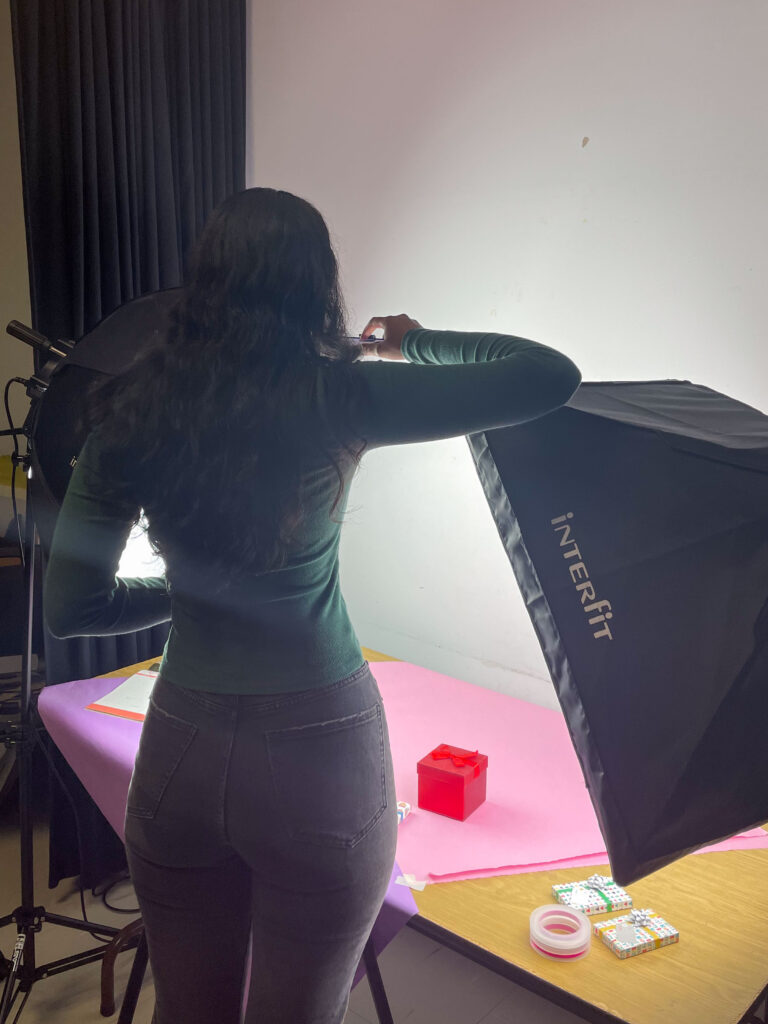
Day 2
This day, we focused on shooting the ribbon sequence. However, this task proved to be more challenging than expected. The black ribbon in this photo did not make the final cut given that it clashed with the overall aesthetic. Due to the ribbons’ narrow width, the lines would roll back frequently.
Day 3
The stop motion content from Days 1 and 2 did not quite reach :30 seconds worth of frames. This required quick thinking to stay on track for this title sequence. On this day, we shot the calendar and gift box scenes. This additional footage ended up being perfect for the first credit of the sequence.
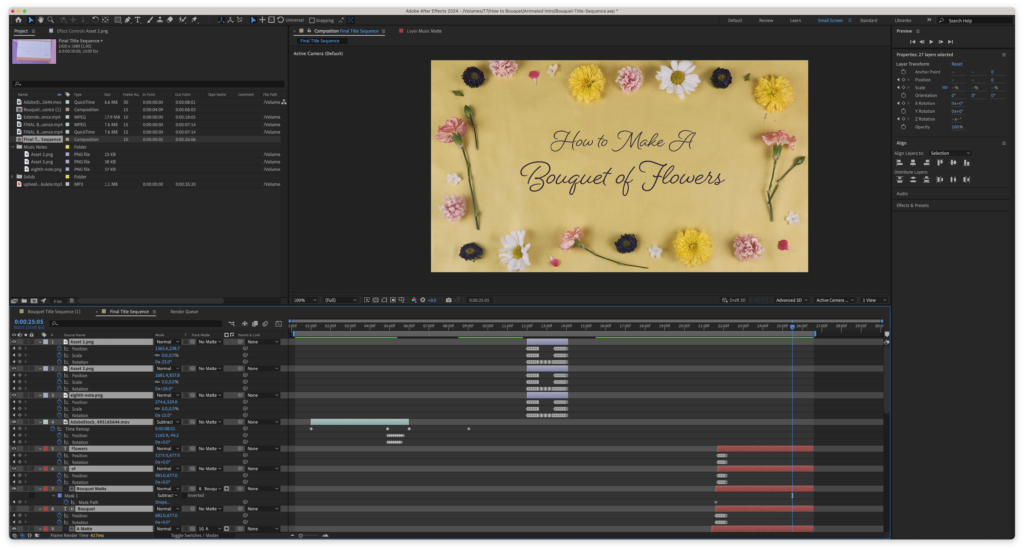
Animating
The animation for the title sequence was done using Adobe After Effects. involved a lot of track mattes and key frames to mask the objects and create the illusion that the text added post-production is interacting with the objects in the images.
Conclusions
This project really pushed my skillset as a graphic designer. Although I have had experience with stop motion in previous projects, it was nothing too extensive. The final title sequence strengthened my experience with keyframing, time remapping, layer masking, and track-matting in Adobe After Effects.